The 5-Step Process to a Flawless Epoxy Floor: No Corners Cut
Rob B • August 29, 2025
Introduction
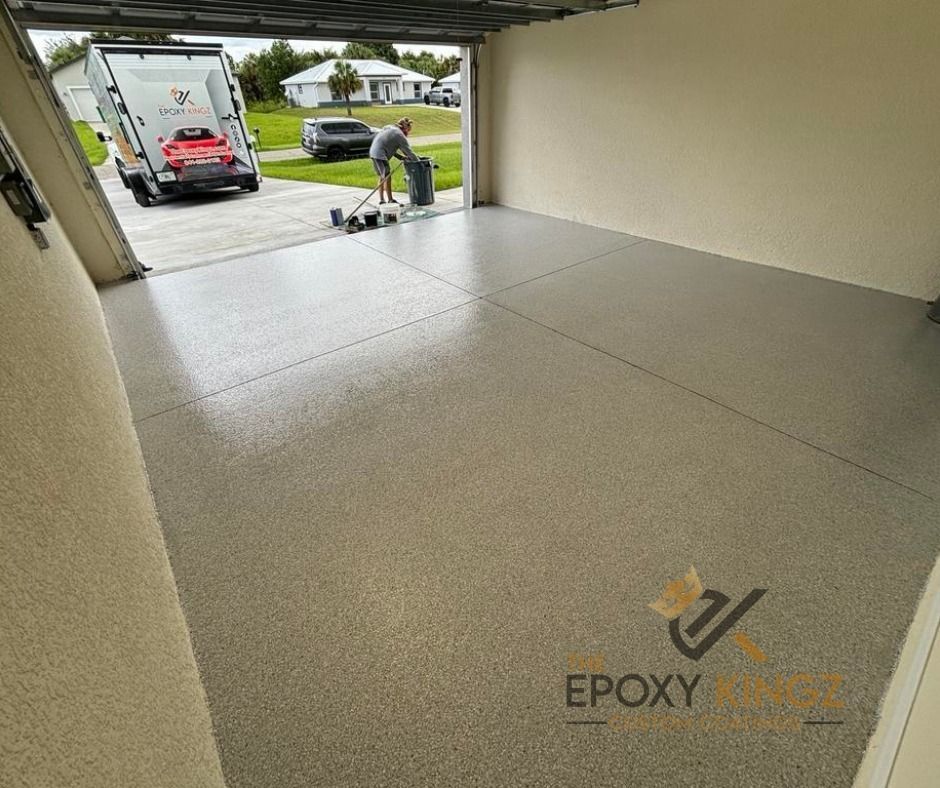
An epoxy floor can completely transform a space, but its longevity and flawless finish depend on one thing: a perfect installation process. While many companies take shortcuts, The Epoxy Kingz follows a meticulous, 5-step system to ensure every project is done to perfection, with no corners cut. Our deep background in construction management and decades of combined experience have taught us that the quality of a job is determined long before the first layer of epoxy is even applied.
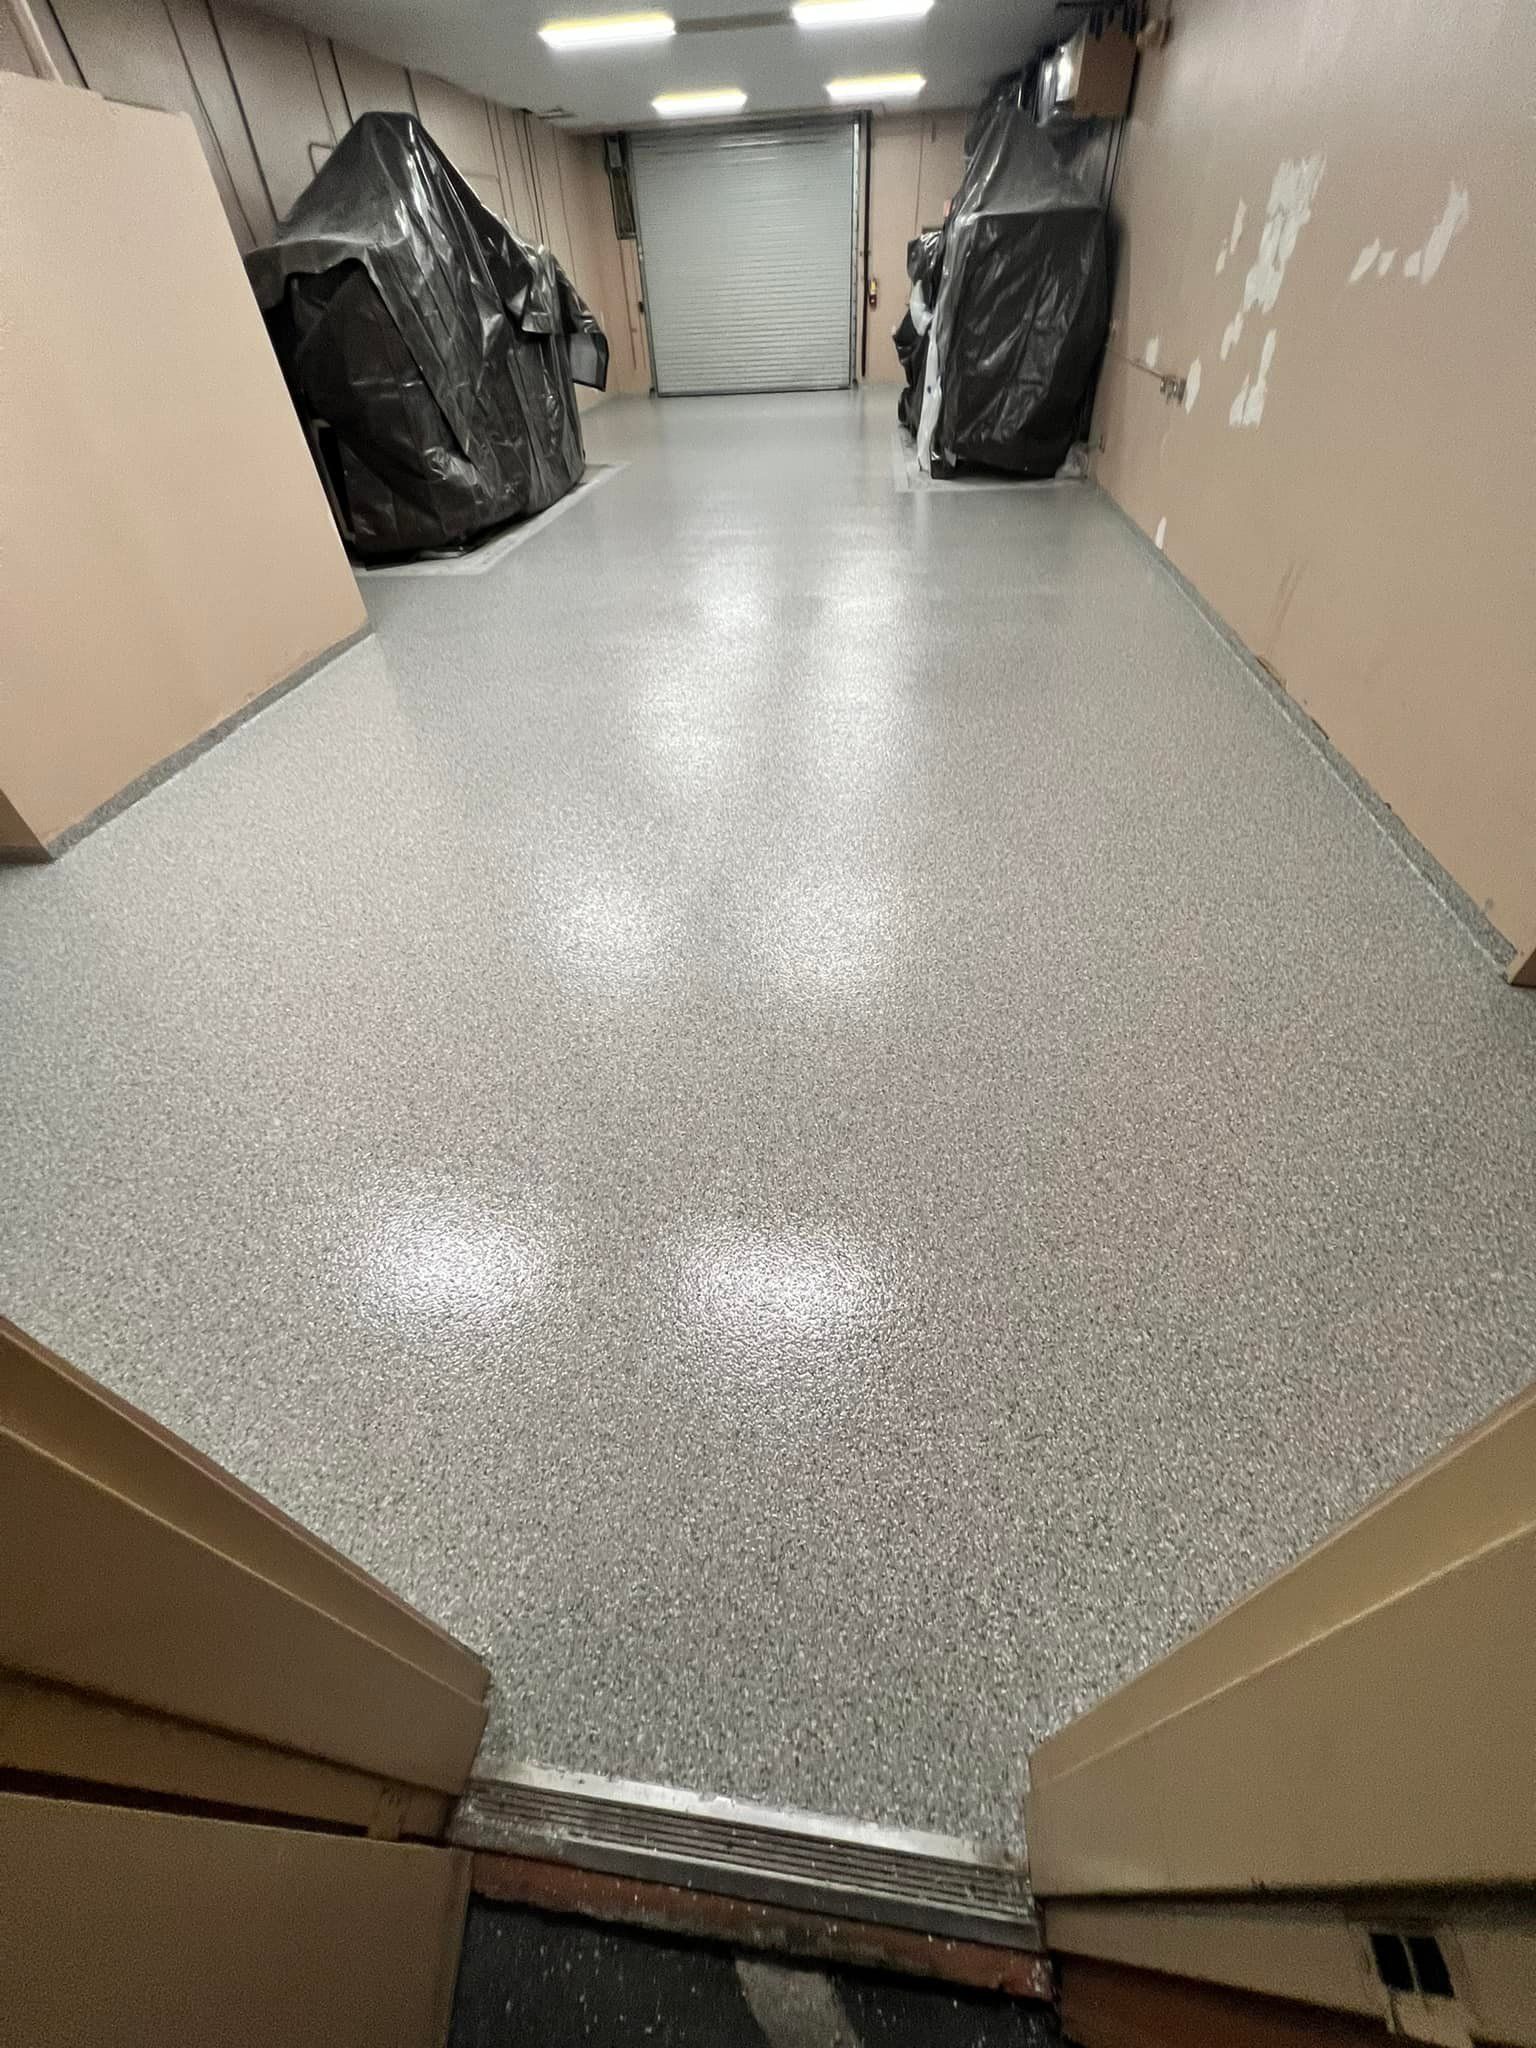
Here's a detailed look at the process we follow to deliver a beautiful, durable Fort Myers epoxy flooring solution that lasts.
Step 1: Meticulous Surface Preparation
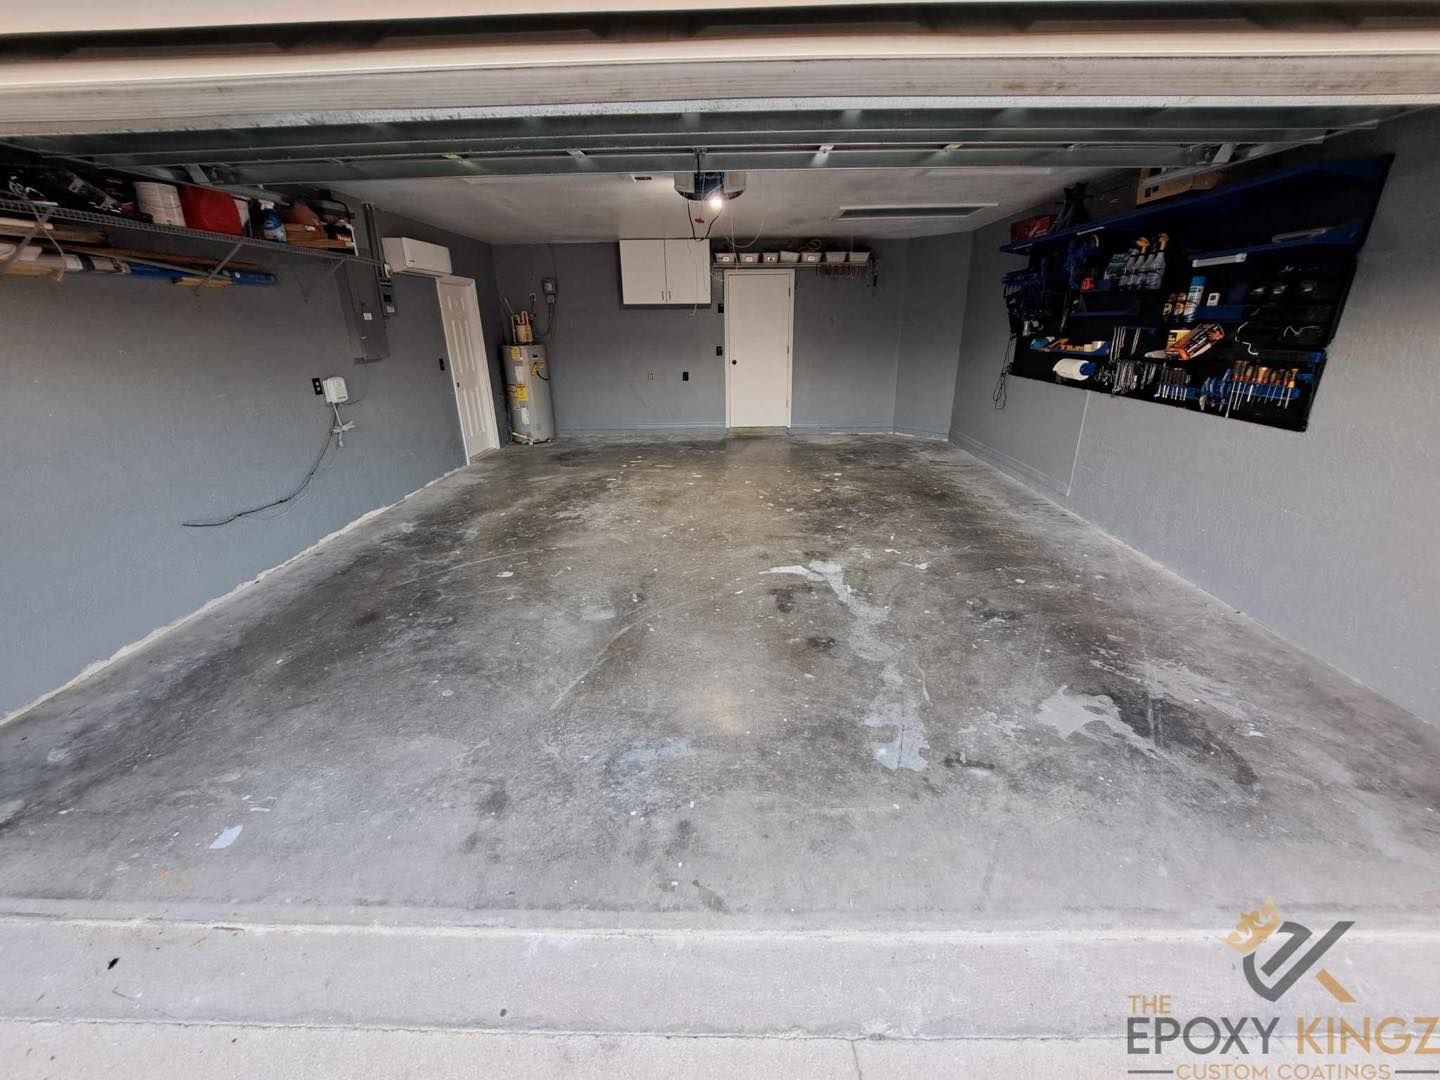
This is the most critical step and one that many DIYers and inexperienced contractors skip. We begin by thoroughly cleaning the concrete surface to remove all dirt, grease, and contaminants. Then, we mechanically grind the floor using industrial diamond grinders. This process is essential because it opens the pores of the concrete, creating a rough profile that allows the epoxy to bond permanently with the surface. Without this step, your epoxy floor will peel and chip within a few years.
Step 2: Concrete Repair
Once the surface is ground and prepped, we inspect the entire floor for cracks, divots, and spalling. Any imperfections are meticulously repaired with a specialized filler. This ensures that the final floor is not only strong but also perfectly smooth and seamless. This attention to detail is a hallmark of a professional Naples epoxy flooring job.
Step 3: Priming the Surface
Applying a primer coat is another crucial step that we never skip. The primer fills in any remaining micro-pores and acts as an adhesive, creating a powerful bond between the concrete and the epoxy coating. It is the foundation that guarantees your epoxy floor will stay in place, even under heavy vehicle traffic and constant use.
Step 4: Applying the Epoxy System
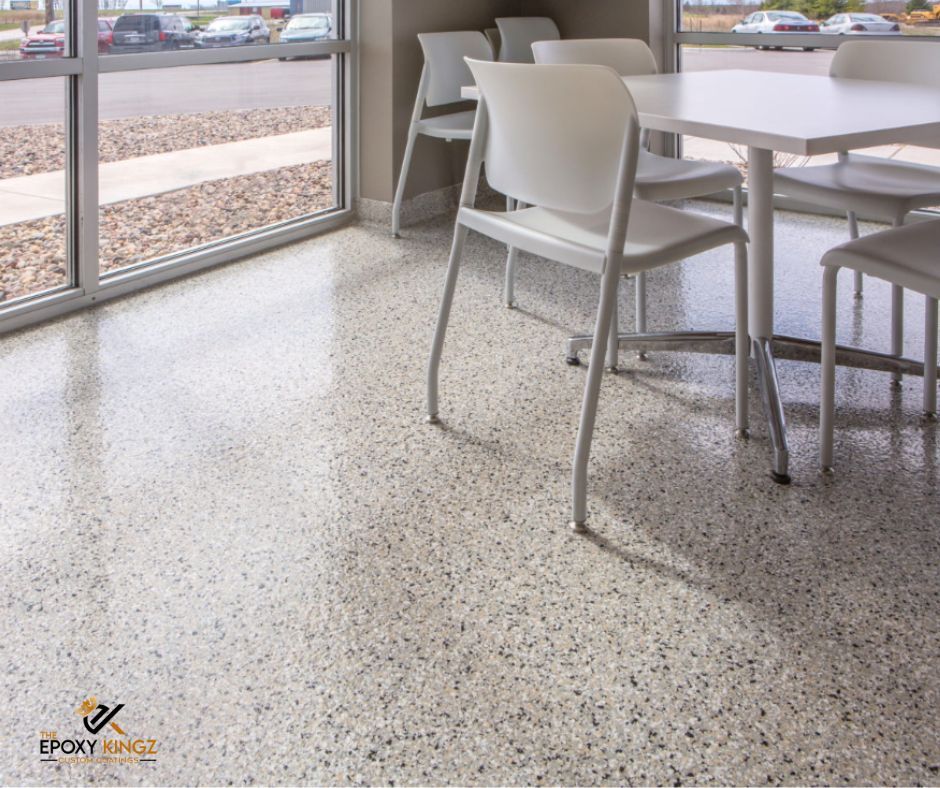
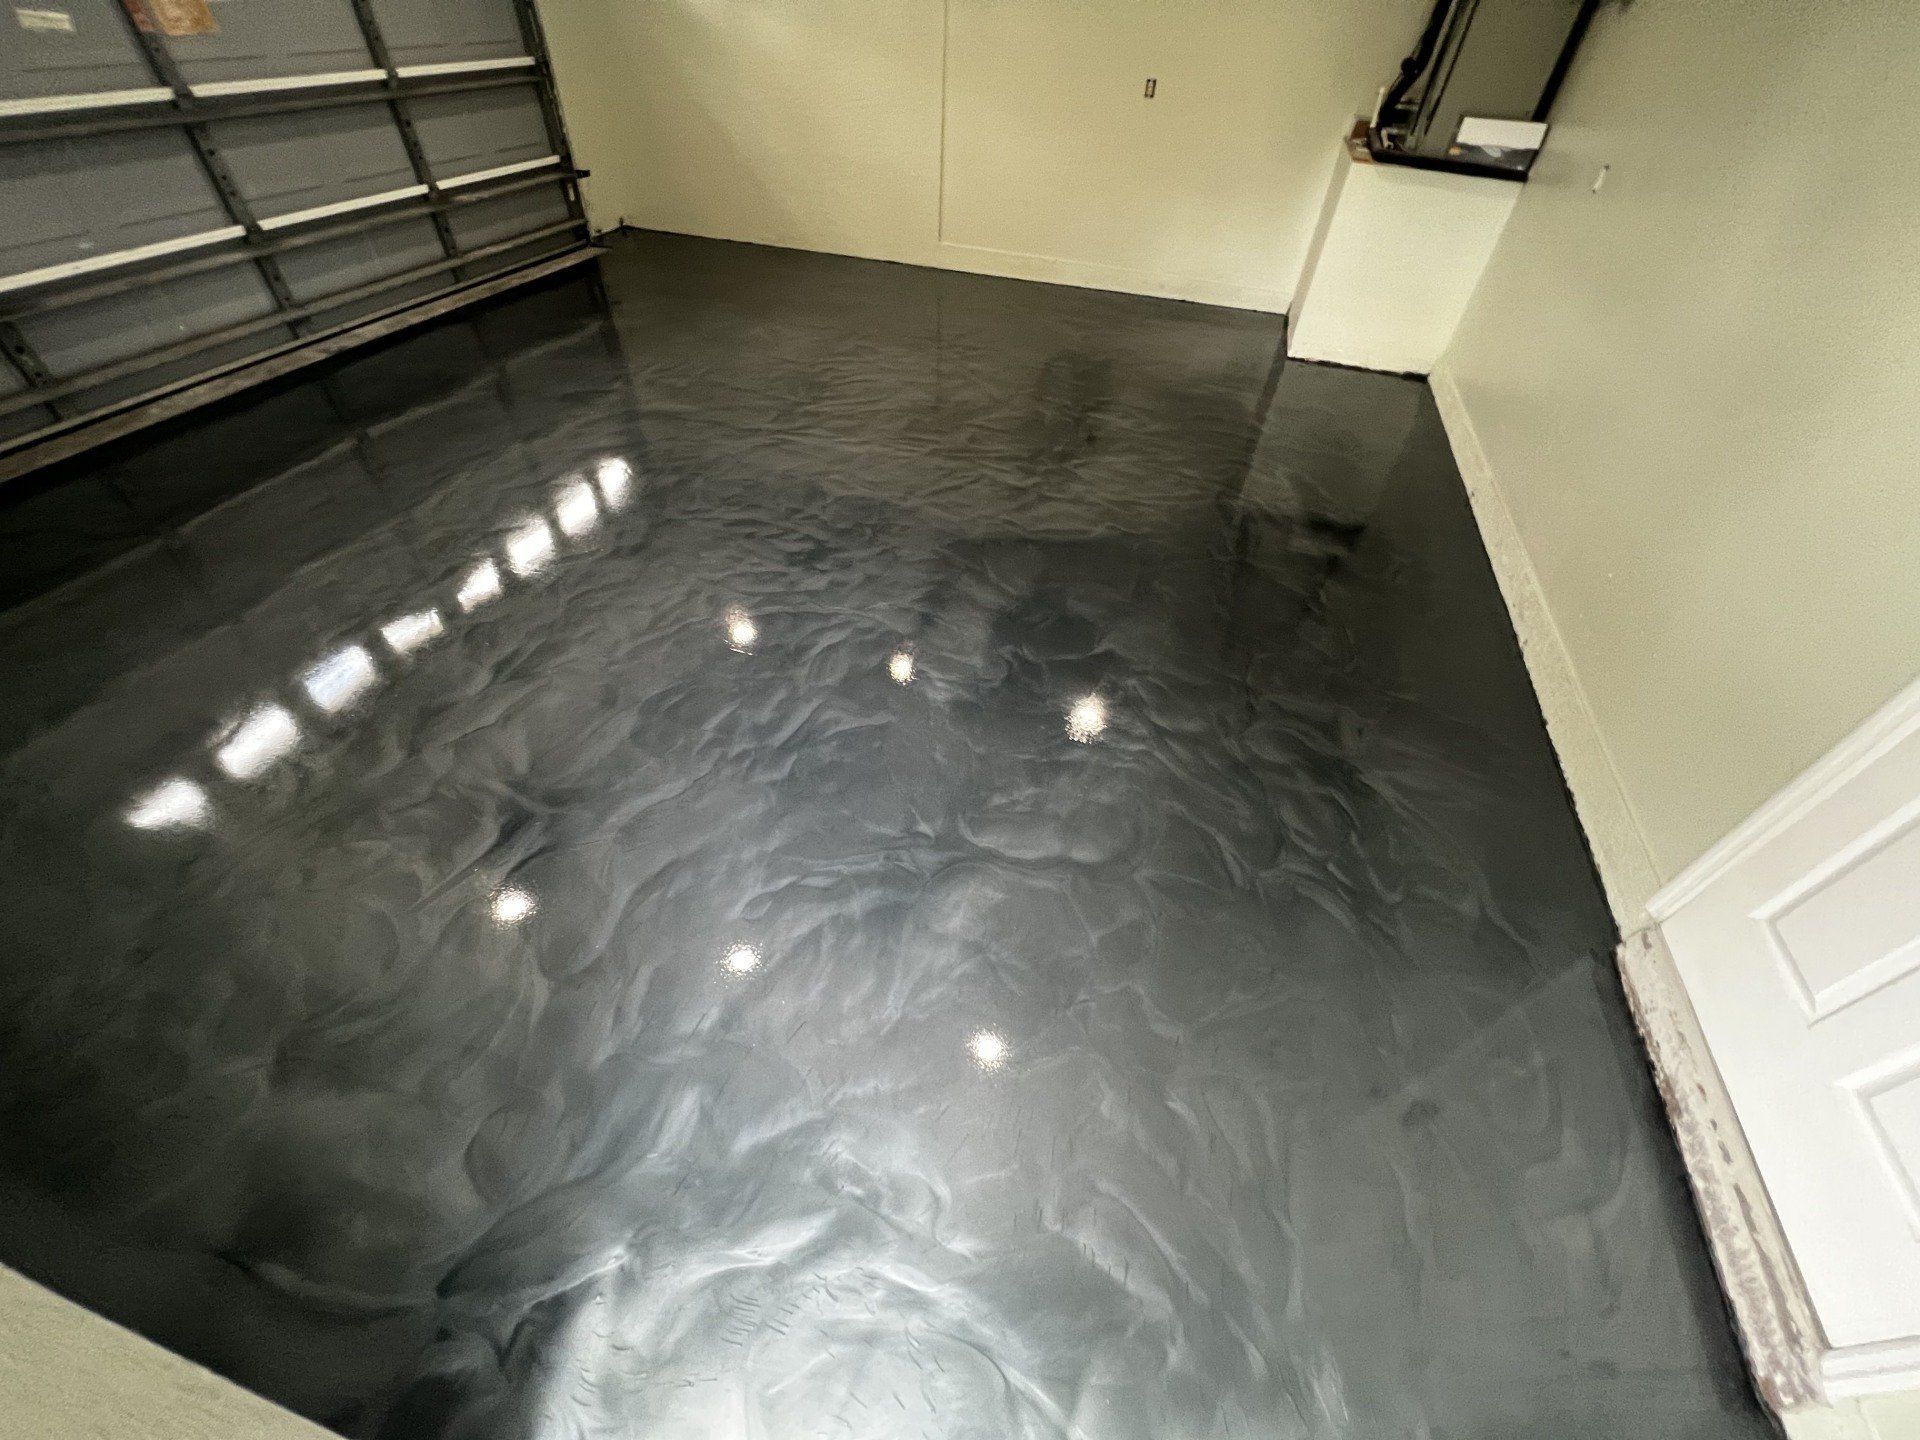
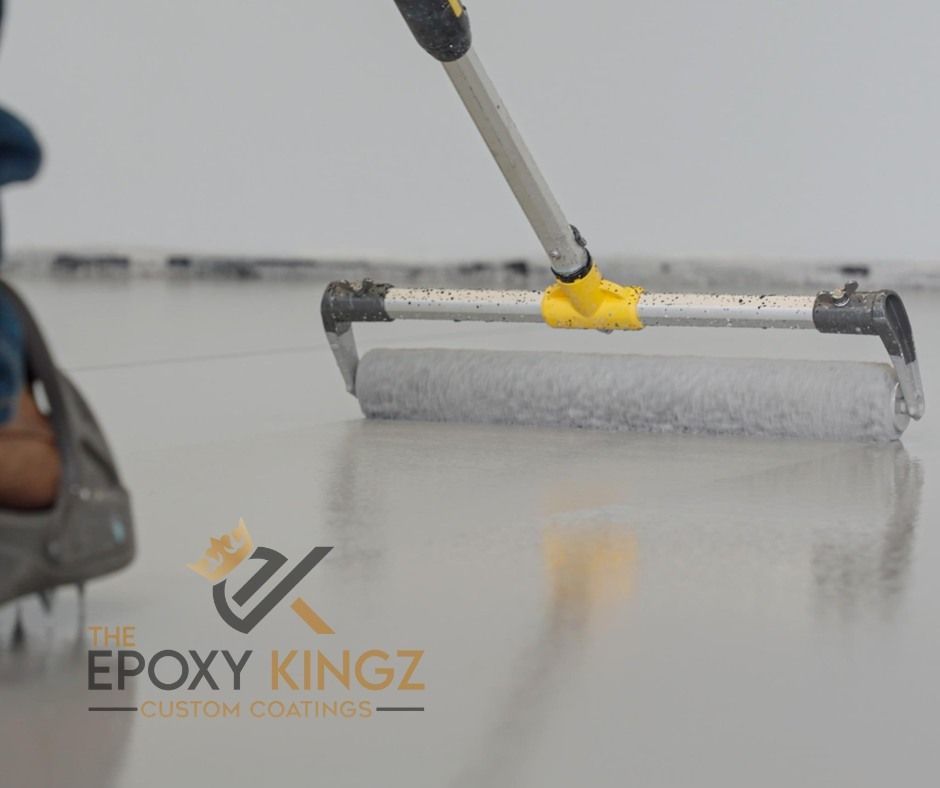
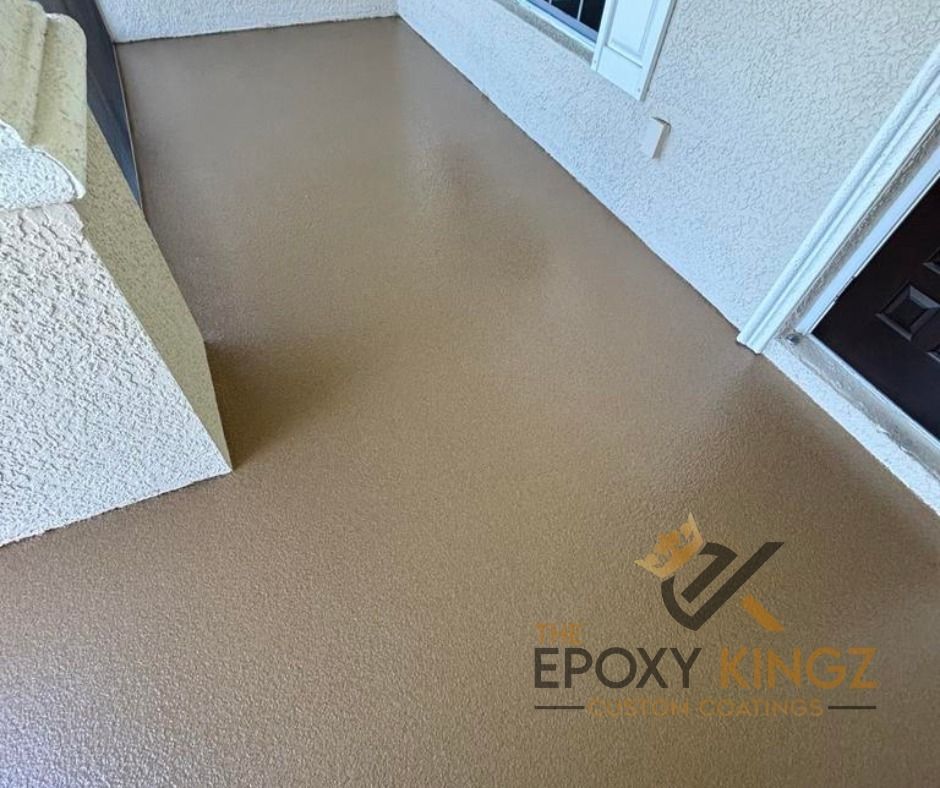
Now for the fun part! This is where the magic happens. We carefully mix the two-part epoxy resin and hardener, and then apply it to the floor. Depending on your chosen style whether it’s a decorative flake system, a metallic finish, or a solid color we apply the layers with precision and artistry. Our team’s experience ensures an even, consistent coating that looks flawless.
Step 5: The Final Topcoat & Curing
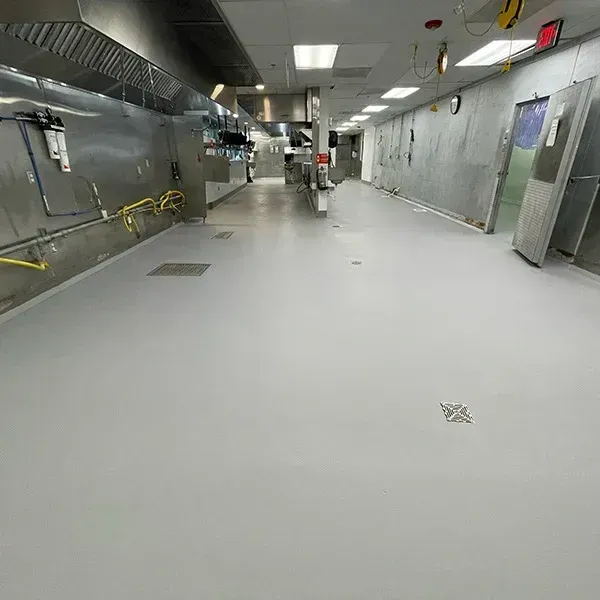
The last step is the application of a durable topcoat. This final layer protects the decorative epoxy system from abrasion, UV rays, and daily wear and tear. It also gives the floor its signature high-gloss finish. After the topcoat is applied, we allow the floor to cure according to the manufacturer's specifications. This final curing process is what transforms the liquid epoxy into a solid, resilient surface that can withstand almost anything.
When you choose The Epoxy Kingz, you're not just getting a new floor you're getting a professional, time-tested process that guarantees a perfect finish and a lifetime of durability. Contact us today to learn more about our commitment to quality.
